2016 is THE year of babies. A number of friends are expecting their little ones’ arrivals this year and boy, Christmas gatherings this year will be festive indeed!
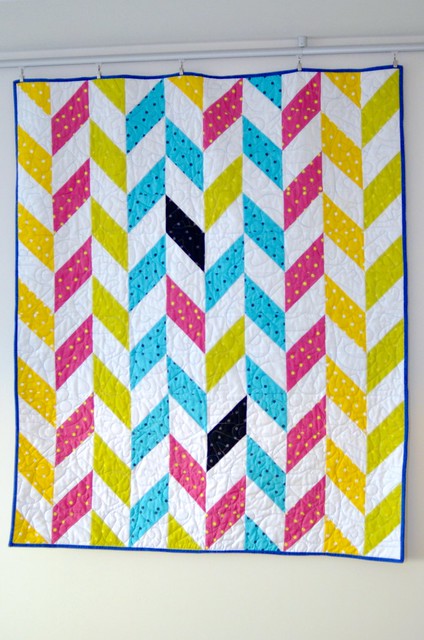
One of the first baby quilts for 2016 is pretty special to me. This was a special collaboration between Aimee (Pins and Needles) and I – where she did the long arm quilting and I pieced the quilt top and finished the hand-sewn binding.
We put together this quilt for a mutual friend who has always been a great help when it comes to sourcing fabrics and sewing notions for us locally. Her baby boy arrived in March and we had completed this quilt by then (usually the quilt comes WAY after the baby is born).
I picked the herringbone quilt layout which has been on my to-make list for a very long time. I wanted to try a layout using the half-square triangle method. For more information, you can refer to the tutorial to the beautiful ombre herringbone quilt here.
The quilt is for a boy and I know some people would insist on Blue-for-Boy and Pink-for-Girl kind of themes. But I prefer to add in hints of pinks for boys and tone it down when it comes to girl quilts. Why? Because a baby’s colour palette should be more inclusive. And actually I love the blacks in this quilt too!,
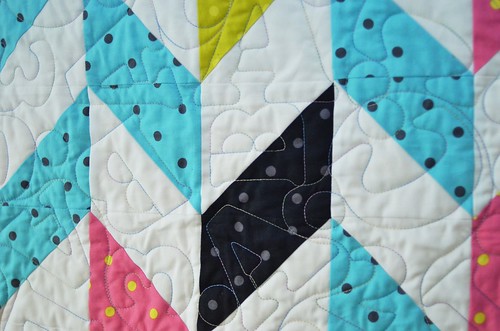
Aimee quilted this baby quilt on her Handi Quilter Infinity using the computerized stitch pattern. I love the letters and numbers motifs. The quilting balances the more ‘modern’ quilt layout with the nursery charm of a baby quilt. She used King Tut variegated threads here and it shows up beautifully on the Kona Cotton Snow fabric.
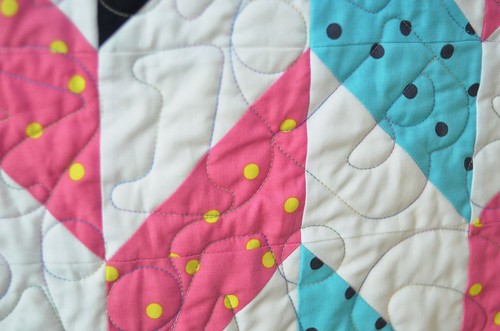
When using the half-square triangle method for chevron or herringbone patterns, I prefer to use non-direction accent fabrics such as dots and I would avoid lines and stripes as I wanted the angled pieces to appear seamless, not pieced.
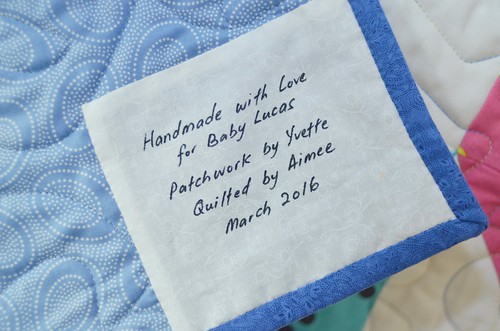
A simple label to personalise this special baby quilt.
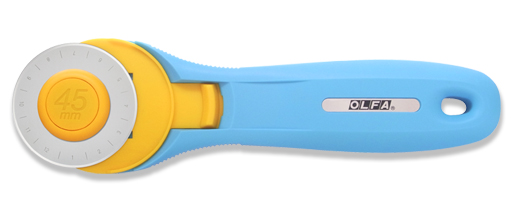
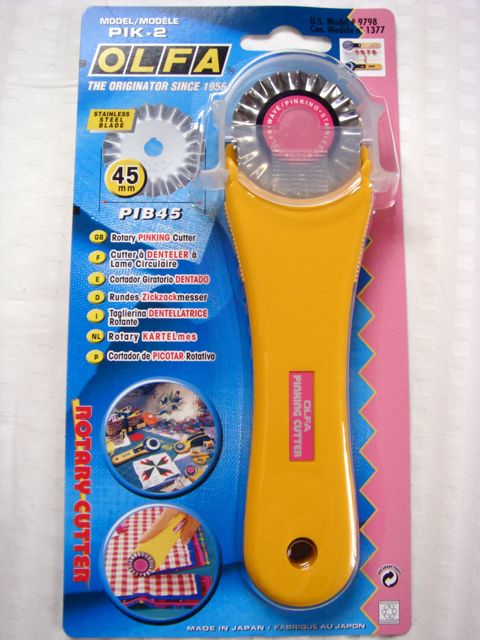
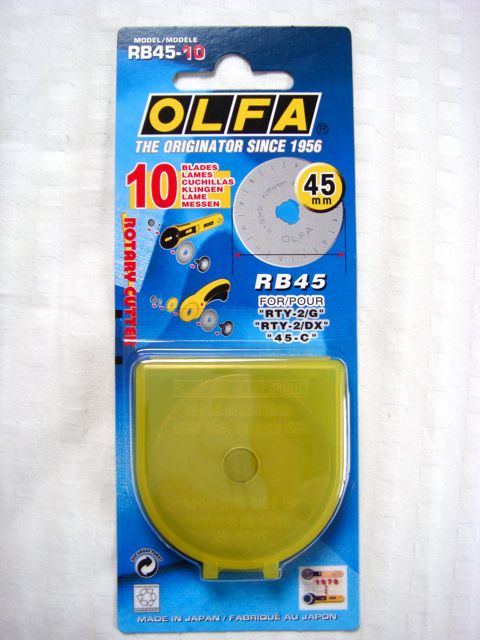
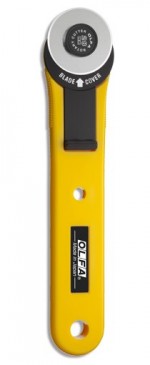
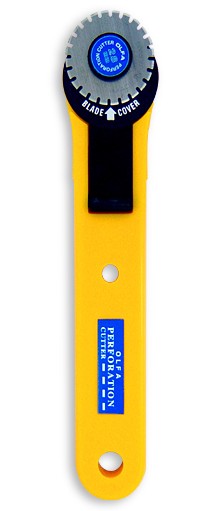
Don’t know which Olfa cutter to get and what are the differences between the models?
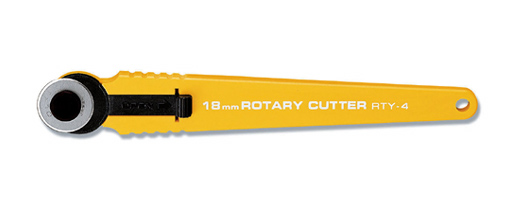
In this updated video, I hope to address those questions and I’ve included the pretty aqua Splash cutter and the 18mm rotary cutter (great for cutting smaller patches) in this review. You can also see how the blades are switched out for each model. Any questions, please let me know!
To purchase the cutters, you can visit my Etsy Shop. Enjoy 5% discount with coupon code (valid till 31 Dec 2015): YOUTUBE2015
For local mailing (to Singapore addresses), you can shop here in Singapore Dollars contact me for prices for Olfa Self Healing Mats and Acrylic Rulers.
Also, view how I used the 18mm cutters to cut the smaller patches with curves
Some tips when shopping for rotary cutting supplies
1) What materials do you cut with? (light weight, stretchy, thick, etc. 45mm size cutters for most fabrics and 60mm for thicker fabrics)
2) What sizes do you usually work with? (Large size, small handsewing projects – so you can consider which size cutter and whether you require a large mat or large ruler)
3) Do you need to cut parallel cuts of fabrics (e.g. cut width of fabrics folded into 2, or just smaller patterns on the yardage)
4) which mat size to buy? – ASK: How big is your worktop? (which is the LARGEST self healing mat size that will cover that area? My advice is to get the largest size that your table can accommodate)
5) which ruler size to buy – ASK: How big is your self healing mat (My advice is to get the longest ruler that your mat can accommodate)
Often, I will receive feedback from the quilters that they don’t have a large enough work table. I will ask them if they can sit their sewing machine on top of the cutting mat. And when they need to use to the entire area of the mat, they can move the sewing machine away (assuming the machine is portable).
Some quilters set their cutting mat on the dining table or on the floor (not recommended as it hurts your back and potential for accidents when the cutters are on the floor too). The mats have to be stored flat, so as long as they are kept away somewhere safe (a friend stores hers under the TV cabinet when not in use), then no issues.
If you quilt, get at least the A2 sized mats, with the basic rulers of 6″x24″ and 6″x12″ with a 45mm Rotary cutter. This combination will be good enough for your quilt making requirements as it allows you to cut across the width of fabric (about 22″ when folded selvage to selvage). Then add on the large square rulers (for squaring blocks and quilts) and smaller rulers (for working with patches).
Do note that you should use a self healing mat as normal mats may be too hard and that will affect the lifespan of your blades. When using a clearly marked acrylic ruler, you will be able to cut your pieces accurately.
We moved to our own apartment a little more than 2 years ago. It is a 1,100sqf 5-room HDB flat, overlooking an old part of Singapore.
Even before we signed on the dotted line with the seller, we scrutinised the floormap, measured every inch of the apartment, and tried to allocate space to fit storage for our gear, living quarters, home office and dining area. In order to accommodate my sewing hobby (and also for the kids to lay their train tracks), we gave up the conventional living room (we always entertained at our dining table anyway) and built A LOT of storage in this small apartment.
I’m going to share some pictures and write up on the set up. The pictures were taken this evening, so apologies for the lighting. No fancy filters or photoshop treatment too, if not, we probably can’t get this tour started anytime soon. So now, please follow my *tour guide flag* and step this way! WELCOME!
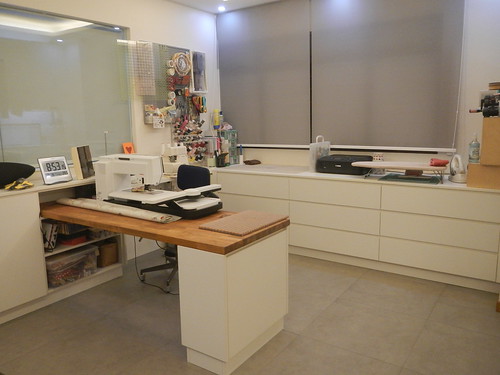
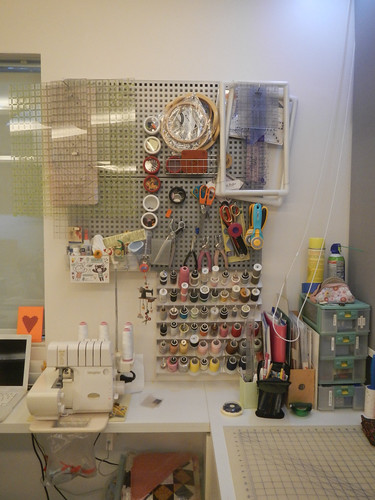
During the day, the blinds will be up and I get lots of natural lighting here. The glass wall separates our home office from the rest of the apartment. When I’m crafting and my son is using the computer or doing his work, I can still keep an eye on him.
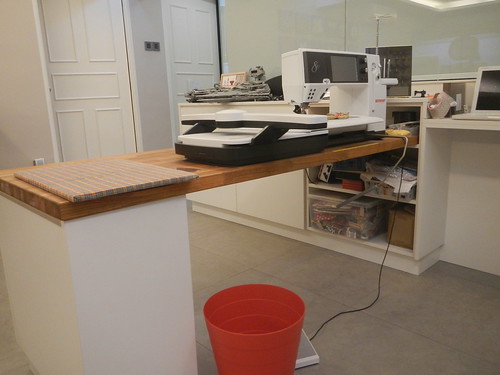
From this shot, you can see that the sewing machine sits at a lower level, so that it is more comfortable to sew for long hours. The Ikea kitchen worktop is supported by a standalone cabinet and the other end rests on the wall cabinet shelf. We brought this worktop from our previous residence and it is perfect for my Bernina as I use the knee lift a lot.
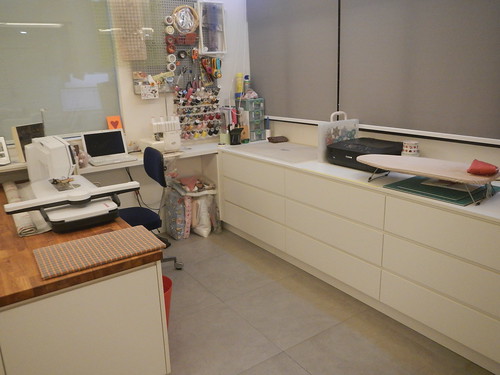
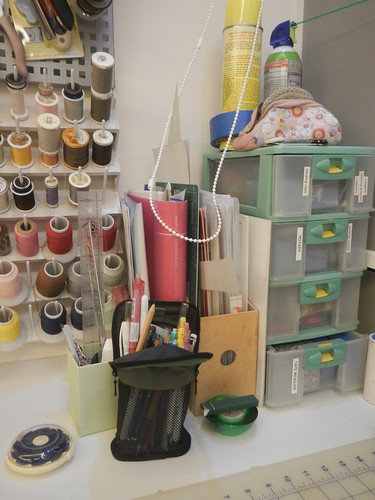
Here’s an overview of the ‘workspace triangle’. Starting from the sewing area, I can swing to my right to access the serger or laptop. The peg board of rulers and cutters are all within reach of the cutting mat. The drawers under the cutting surface house supplies, zippers, ribbons, kits, threads, etc.
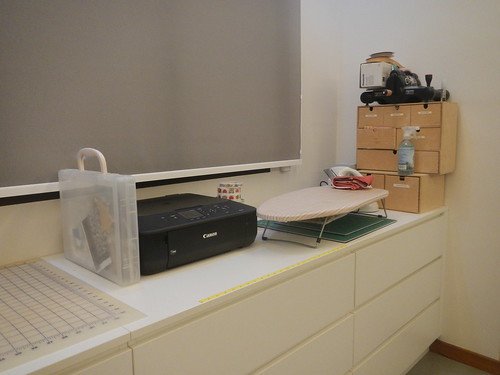
The printer is a new addition – I have started using Inklingo for a few projects and I was really chuffed (and relieved) that the printer could fit on this worktop. The spot between the cutting mat and the ironing station is ideal, as I can iron freezer paper to the fabrics, feed them through the printer and then cut out the shapes.
Ikea storage for my button supplies and Sizzix cutting dies. The Cordless iron and bias tape maker share the little corner here.
“Mummy’s Wall” – I believe there’s a commandment about not helping yourself to any tools hung on mummy’s crafting wall. I have downsized the peg wall (again, Ikea) from 4 panels at our old house to the current 2-panel set-up. I de-cluttered almost 50% of what was on the wall to its current state. Much better now.
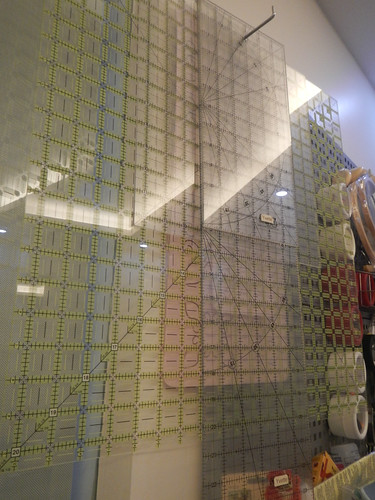
Larger rulers and quilting templates. My largest ruler is 20.5″ x 20.5″ and the longest is 24″. There really is no other way to store these rulers except to get them up on the wall.
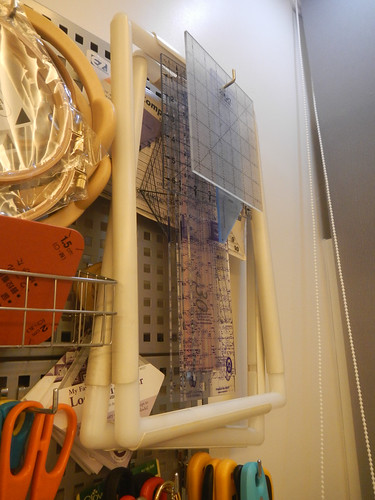
Embroidery hoops, quilting frames and miscellaneous rulers at the other end of the wall. Those are the Marti Michell Log cabin rulers and other odd sized doodads.
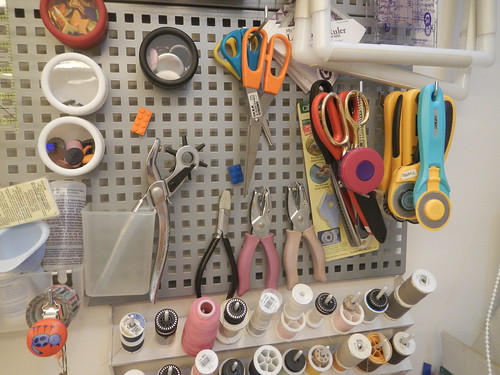
Magnets are my very good friends, as you can see from here. I use the very strong ‘rare earth’ neodymium type. And you can see 3 pairs of Ikea scissors on this wall now. There were 7 such pairs lying around my crafting area before I tidied up my area! These scissors are never there when you need them. But when you do, you cannot find them! And then I have the fabric scissors – the measuring tape is hung on the same peg – a subtle way of telling itchy fingers that these are not the scissors you want *jedi hand wave*. And yes. That’s my Olfa cutter ‘collection’.
My notions commotion area here. The pencil case contains all my marking pens and pencils, and the little box behind holds my seam rippers (yes, plural), and shorter acrylic rulers.
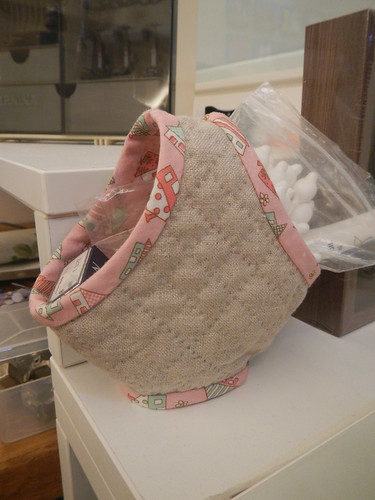
I have to share this little cutie with you. A friend made this for all the ladies in our quilting group last Christmas. She handquilted the main fabric and attached the bias binding by hand. She said it is a decorative basket. I put this little baby to good use and it holds my sewing machine cleaning supplies of q-tips, brush and fresh needles!
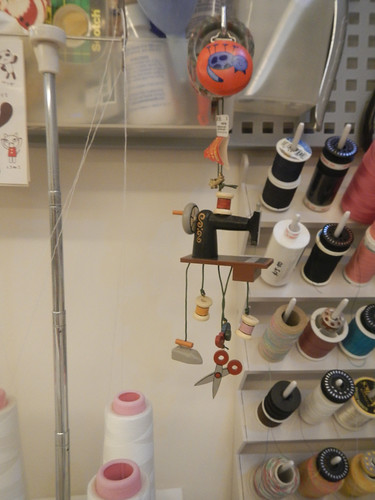
This little beauty (a X’mas tree decoration!) was bought from the Christmas Shop in Riquewihr when we travelled to France in 2013. Fancy buying Christmas decorations in June!
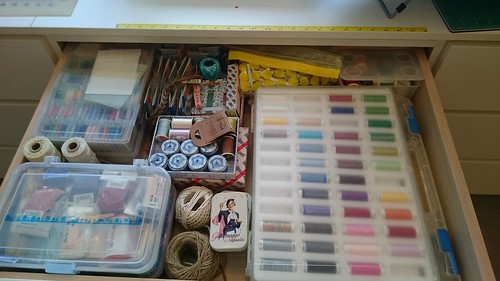
This drawer of hand/machine embroidery threads, sashiko threads, silk threads, cotton perle, linen spools and twine brings me loads of joy. 2 words. Eye. Candy.
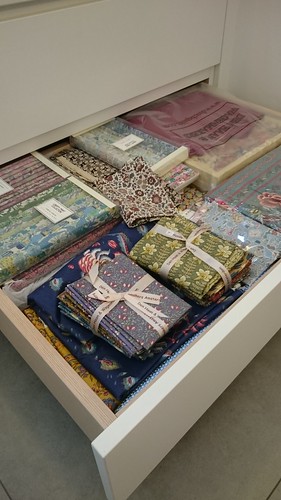
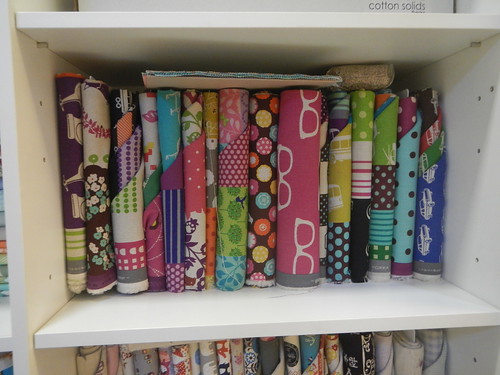
This collection of fabrics sits separate from the rest of the stash. I can sit on the floor next to this opened drawer and look at them for ages! The Dutch chintz and Liberty fabrics are just waiting for THE project to come my way.
Most of the pre-cuts are stored here. I do reach for the pre-cuts pretty often, so the turnover in this area is rather high.
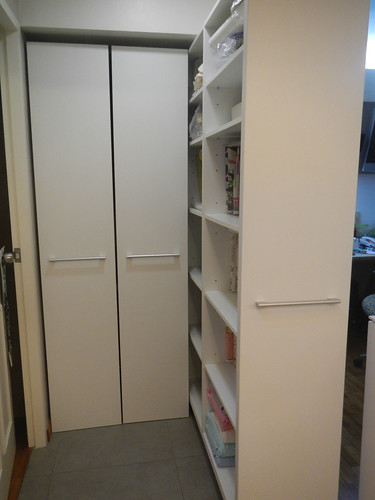
Secret stash cave. These pull-outs are custom built and they are rolling on industrial casters. I’m praying that the units will hold out for a long long time.
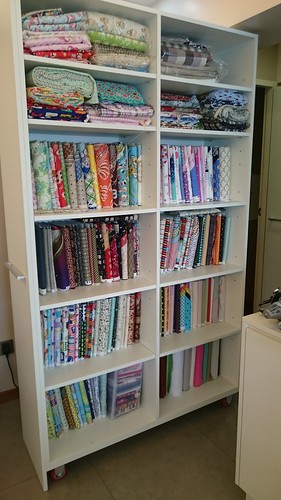
My fabrics (more than a yard) are wrapped around Mini Bolts (see demo here). I tried folding them with the ruler but the mini bolts do work best for me.
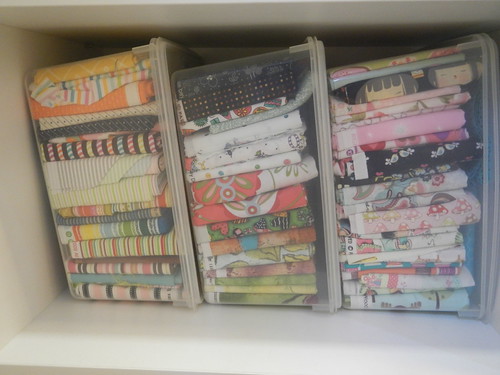
Fat Quarters fabrics 1 yard or less are folded and stored in tubs. Recently, I cleared enough space in the shelves to hold all 10 tubs. Hooray!
My Echino collection on the shelf. The Mini Bolts allow me to fold fabrics in the same line on the same bolt.
I organise my fabrics according to the genre – reproduction, novelty, kids, etc and then according to types. Like decor weight, dress making, minky, etc.
I have been through many set-ups for my sewing station. I learned a lot from friends who have rooms full of fabrics and through quilters who shared on their blogs. I may not have whimsical decorations around the craft area or vintagey looking stuff that look so cool in the instagram photos, but I’m very comfortable and happy to sew the nights and days away in my little corner.
That brings us to the end of the tour of my humble little corner. I wish you many yards of beautiful fabrics and loads of awesome projects in the coming weekend. Ta ta!
I hope all of you had a good year-end break and a wonderful start to the new year!
I spent the last couple of days in 2014 nursing my little girl who caught a bug and is now finally on the mend. And while I was cradling her in bed for hours on end, I was planning the family meal plans, listing the endless to-do lists and also having a thought about what I would be sewing next. And the cheesy new year crafting resolutions that I resolved never to do popped in my head to say ‘harrow’.
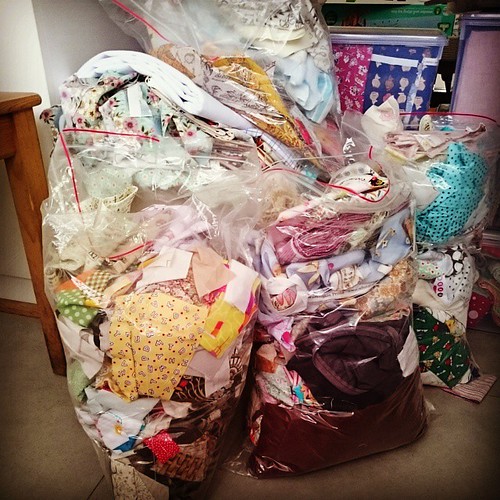
So here’s the list, made up in my head with ringing ears (from baby’s screams), aching arms and sore boobies (yes, I’m still breastfeeding my 14.5 month old. It IS a good thing). 1) Tame those scraps
The scrappy state of my scrap bags. More Bags not in the picture.
Scraps are fabrics, still. And fabrics cost money, a lot. So I should really work harder at managing my scraps. The scraps seem to be taking over the sewing area, inching to invade the surface that they can cover like in the horror movies. My plan is to 1) make small projects with the scraps 2) offer more scrap packs for sale and 3) work on the scrap user’s system by Bonnie Hunter.
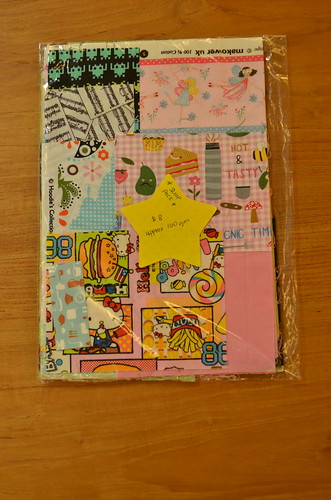
Scrap Pack that I put together for sale a long long time ago.
2) Make more clothes
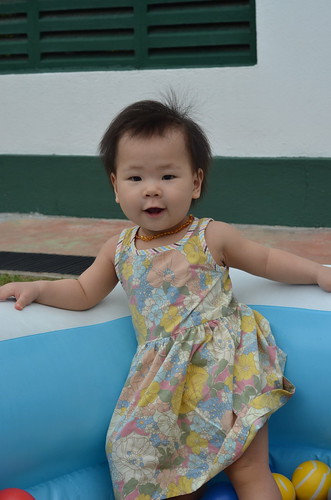
See how my little girl upturned the hem to show off mom’s awesome blind-hemming skills.
I made this frock in Feb’14. Katie only wore it TWICE. She can’t fit into it now, but I relished the moments I popped this over her head to try it on for fun. I have gathered so much clothes making fabrics (not quilting cottons) and patterns for the kids. I. Must. Get. Down. To. It.
3) More projects for the family
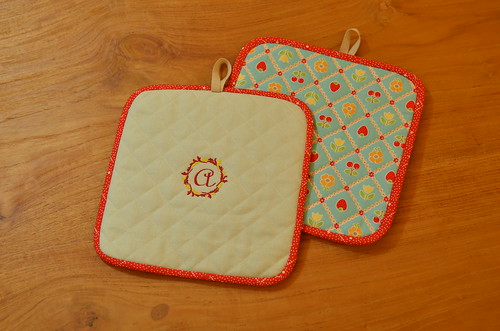
Custom order – personalised quilted pot holders
This means more quilts on the beds, more handmade goodness around the house and finally make something pretty for myself. The pot holders are a classic example of something that I wanted to make so badly for the loooongest time for my own kitchen and yet never mustered the energy to take the insul-brite out of its packaging UNTIL someone came asking if I have any pot holders for sale. Oh yes, I do!
4) Take more pictures
I have been sorely deficient in documenting my projects for a while. With a better phone camera, awesome prime lenses, WIFI SD cards and auto-sync/uploads from the devices, there’s really no more excuses for not taking more pictures of stuff that I make before packing them away. And maybe more WIP shots too?
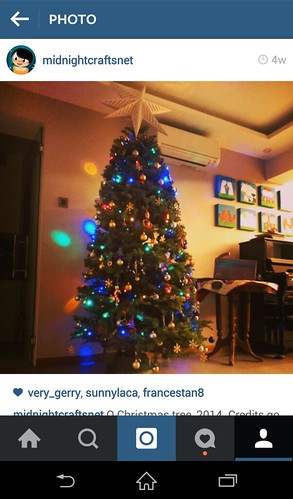
And with that, I present to you: Midnight Crafts on Instagram! Ta-Dah! Come, come… don’t be shy, ok?! And there’s good old Flickr and FaceBook too!
5) Sew more with (more) Friends
2014 has been a fantastic year for sewing with friends. I managed to keep up with most of the monthly meets with my quilting friends and I had the most wonderful time with Mama G, who flew in from France to visit her family, and she made time to come by to sew with me for a couple days. We made the dresses for our kids! Also I helped a friend finished her first sewing project: a quilt for her toddler son. She’s on her way to getting her own machine and I’m sure we will sew more together this year.
It is not always easy to say ‘yes’ to a sewing date as I have the kids to tend to, work to be done and chores to complete. I’m kind of true to the mantra I throw at my son on a daily basis: WORK BEFORE PLAY!
So I guess I should do as I say by ‘putting my head down and focus on finishing my tasks’ and have the rest of the day to ‘sew’. Having the kids over at the grandparents’ helps too!
And with that, I wish you loads of sewing projects, beautiful fabric stash, and plenty of crafty inspiration in 2015. I’m having guests over for a dinner party tonight – to make up for X’mas/New Year celebrations we had to cancel because of the little one. But like my friend said, it’s like a prolonged Christmas. True, that.
I’m really excited that a number of crafters who have been following this blog and my FaceBook page have been enquiring about Olfa items (that I have been listing on/off). So here I am, up at 2:30am, listing items on my Etsy shop and also setting special prices for readers in Singapore.
So if you would like get some good deals on Olfa cutters and blades, please go to my Etsy shop and quote BLACKFRI2014 to receive 10% off!
For crafters in Singapore, I’ve got some sweet deals for you, and including mats and rulers for sale too! Visit the Olfa Specials album for more details! I will provide FREE DELIVERY/POSTAGE for customers in Singapore for purchases above S$100.00 too!


 A simple label to personalise this special baby quilt.